The Pick and Roll Spacings Every Coach Needs to Know

")


")

If you were to search for pick and roll spacings, the internet would give you a myriad of different spacings. We wanted to keep this blog simple and present four of the most common spacings in the modern game.
Why Clinical Spacing Matters in the Pick-and-Roll
✅ Creates driving lanes for the ball handler
✅ Forces defenders into tough decisions (e.g. to tag or stay home)
✅ Opens up easier passing angles into the roller
✅ Provides clarity for cutting and re-spacing concepts
Transforming Terminology for Pick and Roll Spacings
1. Rub Spacing: a pick and roll set in the middle with the ball going towards the single side, away from the two-person side.
2. Side Spacing: A pick and roll set on the side with the ball handler going towards the two person side, and away from the single side. A drag is an example of a pick and roll in side spacing.
3. Clear Spacing: a side pick and roll but with the strong side corner emptied and three players on the weak side. The pick should be set lower on clear spacings to stretch out the last defender on the loaded side, making them shift over to cover the roll threat as well as making it easier for the handler to turn the corner without meeting a stunt defender.
4. Angle Spacing: a pick and roll set on the side with the ball handler going towards the corner. An example of angle spacing is a step-up, or a drag screen where the screener flips the screen.
Rub Spacing:
Side Spacing:
Clear Spacing:
Angle Spacing:
In a future blog, we will go into detail as to why naming your pick and roll spacings is so critical if you want your team to make use of effective coverage solutions.
Want to see how to teach all these coverage solutions in the most effective way possible? Be sure to check out our course on the “pick and roll offense.” This is the world’s most comprehensive course for developing these coverage solutions with your team: https://transformingbball.com/course-the-pick-and-roll-offense.


")
check what's trending

What is ecological dynamics and how is it connected to a constraints-led approach?
Dec 8, 2025
George Vaz

Are you searching for the best small sided games (SSGs) to improve your basketball practices? Want to replace boring, low-transfer drills with competitive games that actually develop player decision-making and in-game skills?
In this post, I’m sharing my top 5 favorite small-sided basketball games—designed to teach core concepts like closeouts, pick-and-roll, advantage creation, and transition offense and defense. These basketball SSGs are intense, purposeful, and built around real-game actions.
Whether you're coaching youth basketball, high school, or pros, these top small sided games will make your sessions more effective, more engaging, and more fun—for both players and coaches.
Let’s break down each game and how it can transform your practices.
Aug 4, 2025
George Vaz

Whether you’re coaching in the NBA, EuroLeague, or youth basketball, one thing remains universally true: the worst transition offense is still more efficient than the best half-court offense. Yet, many teams still struggle to fully capitalize on transition opportunities, often opting to slow down the game instead of pushing the pace. The question is, why? By running more intentionally, teams can create easier scoring opportunities. So why do some teams hesitate?
Apr 7, 2025
George Vaz
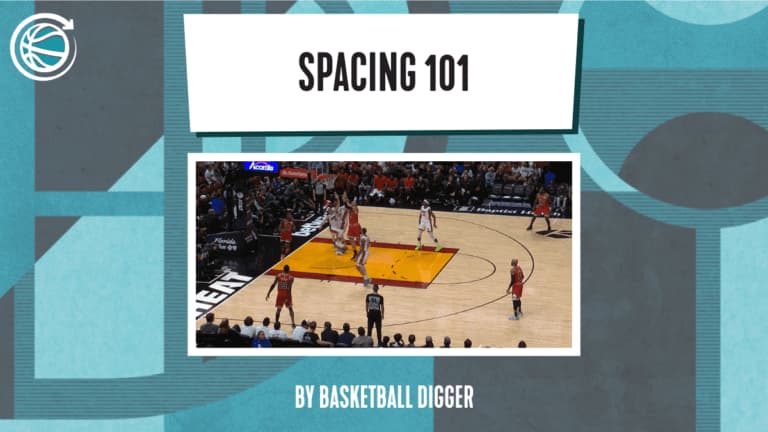
Spacing has changed the game. NBA offenses today look nothing like they did in the ’90s—more threes, better efficiency, and smarter shot selection. But why? The key lies in how teams use space to create and capitalize on advantages.
Mar 31, 2025
Simon Caret
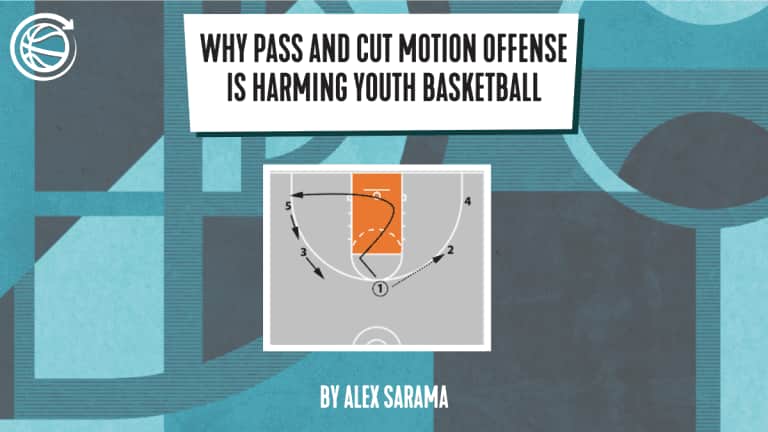
This article breaks down why pass and cut motion offense limits youth player development, and explores better ways to teach spacing, decision-making, and offensive creativity.
May 1, 2024
Alex Sarama
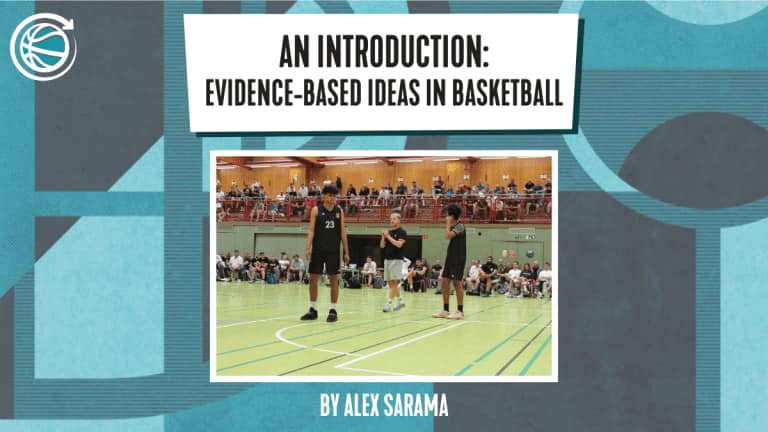
Approaches within the basketball industry are predominantly based upon experiential knowledge and traditions.


